Arlecchino Guide Overview
Welcome to our Genshin Impact guide covering everything you need to know about Arlecchino. You can see how she ranks compared to other characters in our Genshin Impact Tier List.
Arlecchino (Pyro On-Field DPS)
Updated for Version 4.6 Phase 1
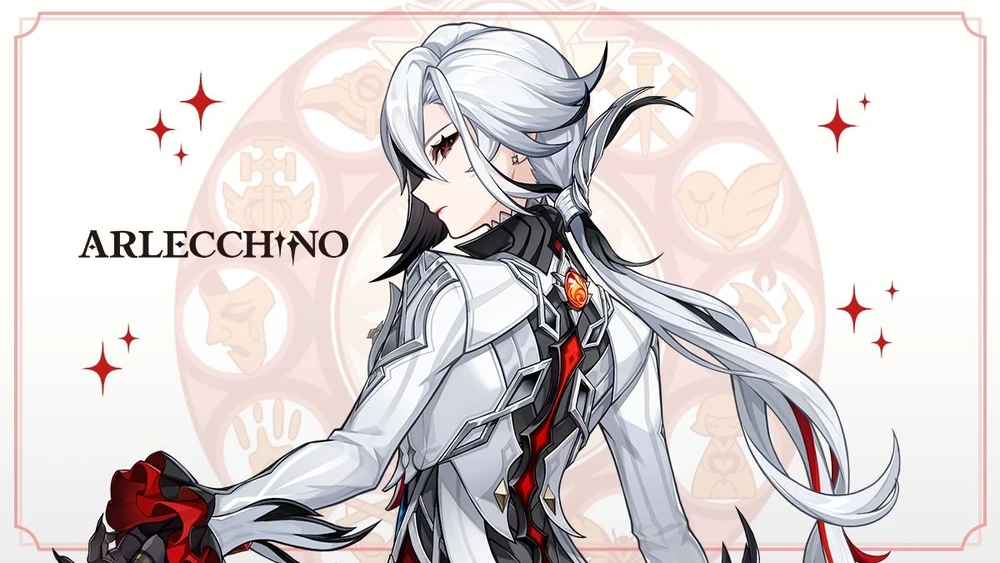
Arlecchino is a Polearm user that revolves around enhancing her Normal Attacks, both increasing her damage and converting it to Pyro. She accomplishes this through gaining and spending Bond of Life.
To gain Bond of Life, she uses her Elemental Skill to apply Blood-Debt Directive to enemies and then uses a Charged Attack to absorb these Directives. Using her enhanced Normal Attacks will spend her Bond of Life, so she will repeat this cycle of gaining and spending.
Worth noting is that her Bond of Life and Normal Attack enhancement will persist despite character swaps which contributes to her rotational flexibility.
Generally her Elemental Burst can be reserved solely for emergency personal healing. However, since she has a passive that results in not being able to receive healing aside from herself, this may affect your team building considerations for survivability.
Pros
- Strong personal damage and large Area of Effect for a melee
- Built in movement and gap closers in her kit helps with maintaining uptime
- Ease of play – not reliant on strict rotations/combos and has low execution requirements
- Burst is non-essential for damage, it can be reserved for situational personal healing
- Flexible teams
- Has a unique Held Charged Attack that gives her high speed movement for 5s and can even fly over water
Cons
- Cannot be healed except by her own Burst
- Survivability may rely more heavily on shielding or dodging
Talents
Invitation to a Beheading – Normal Attack

Normal Attack
Performs up to 6 consecutive spear strikes.
Charged Attack
Consumes a fixed amount of Stamina, dashing toward a nearby opponent and cleaving once.
Continuously holding this button will cause Arlecchino to consume Stamina and engage in up to 5s of high-speed movement.
Plunging Attack
Plunges from mid-air to strike the ground below, damaging opponents along the path and dealing AoE DMG upon impact.
Masque of the Red Death
When Arlecchino has a Bond of Life equal to or greater than 30% of her Max HP, she will enter the “Masque of the Red Death” state, where her Normal, Charged, and Plunging Attacks will be converted to deal Pyro DMG. This cannot be overridden.
When in the “Masque of the Red Death” state, Arlecchino’s Normal Attacks will deal extra DMG to opponents on hit that scales off her ATK multiplied by a certain ratio of her current Bond of Life percentage. This will consume 7.5% of said current Bond of Life. Her Bond of Life can be consumed this way every 0.03s. When her Bond of Life is consumed in this manner, All Is Ash’s CD will decrease by 0.8s.
All Is Ash – Elemental Skill
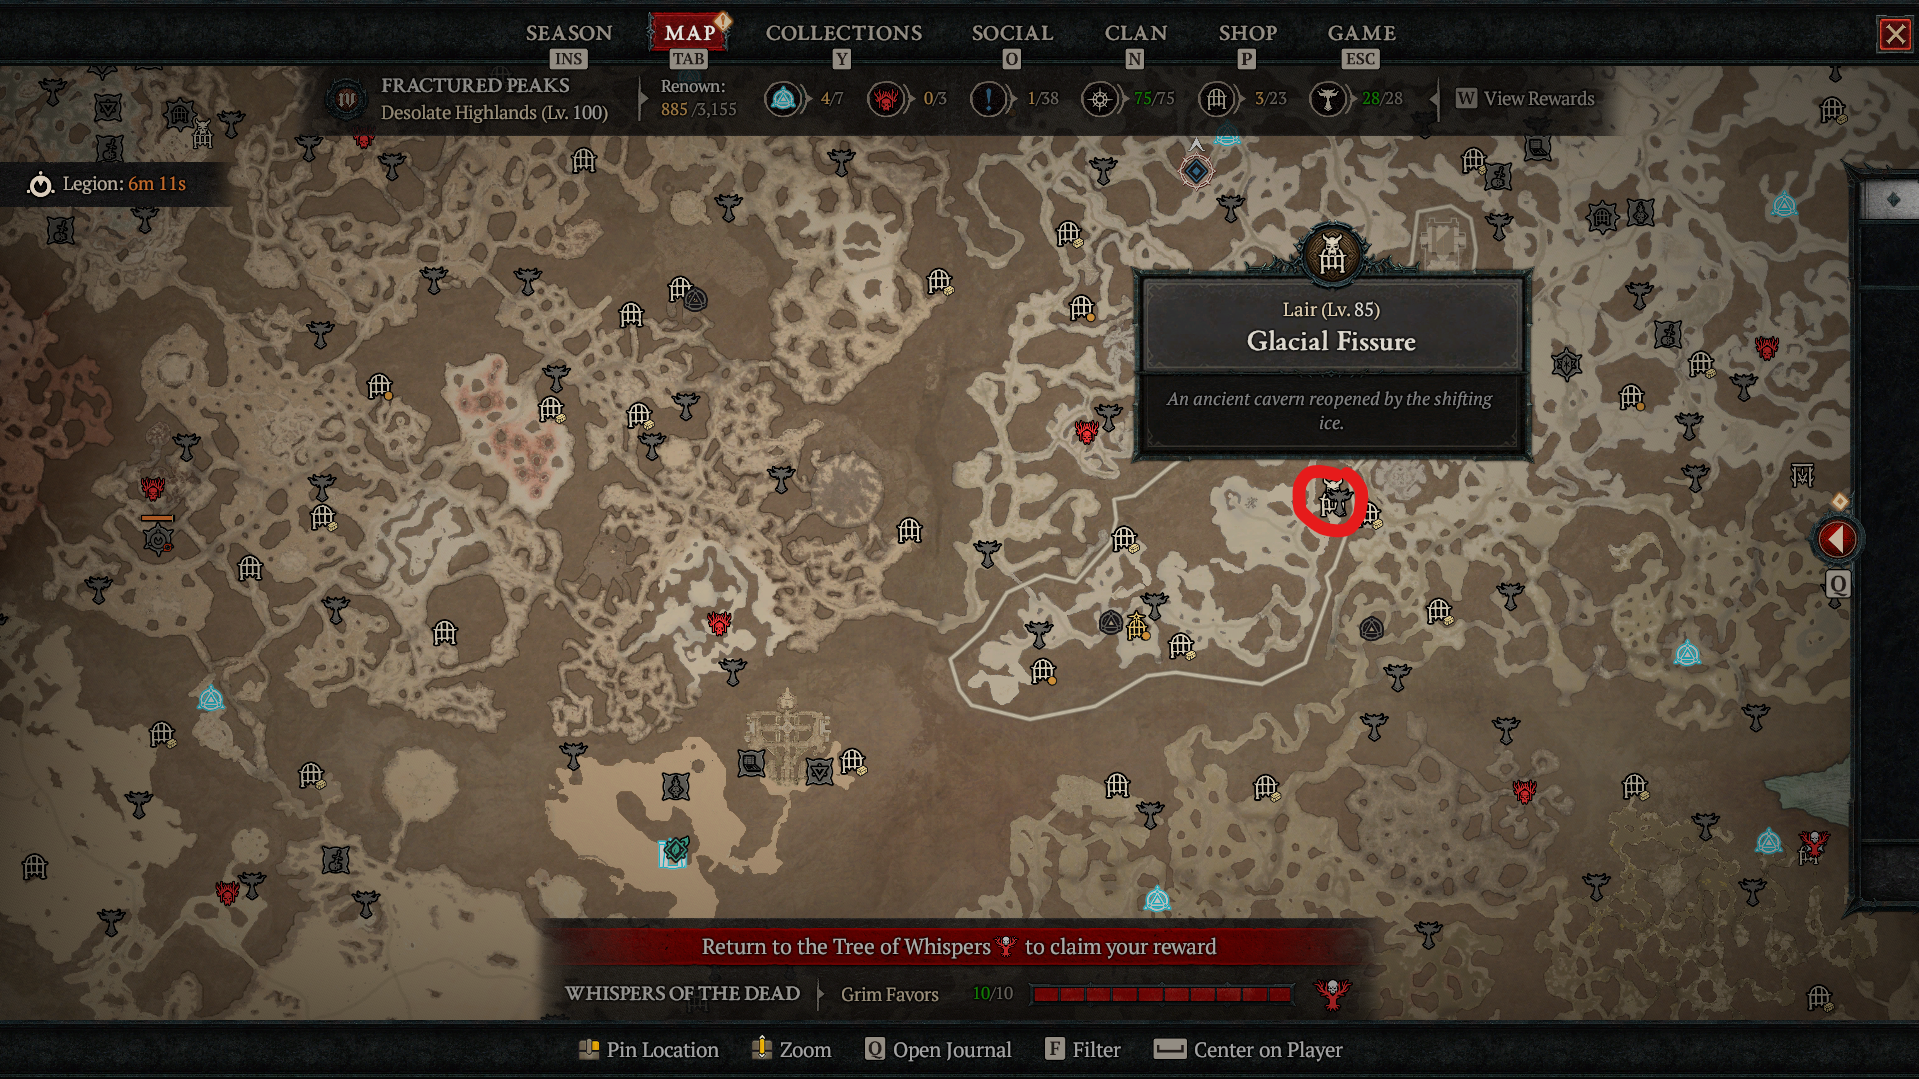
Summons forth Balemoon Bloodfire, dealing Pyro DMG to multiple nearby opponents and performing a dash-cleave against one of them, dealing AoE Pyro DMG.
Opponents hit by the aforementioned attack will have a Blood-Debt Directive applied to them.
Blood-Debt Directive
- Lasts 30s. Every 5s, it will deal 1 instance of Pyro DMG to the opponent. Max 2 instances. This DMG will be considered Elemental Skill DMG.
- When Arlecchino uses a Charged Attack or her Elemental Burst, Balemoon Rising, she will absorb and clear nearby Blood-Debt Directives. Each Directive absorbed grants her a Bond of Life worth 65% of her Max HP.
- The maximum value of the Bond of Life she can be granted through Blood-Debt Directives within 35s after using her Elemental Skill is 145% of her Max HP. Using the Elemental Skill again during this duration will restart the count on duration and the limit on the value of Bond of Life she may gain from Blood-Debt Directives.
Balemoon Rising – Elemental Burst

Arlecchino’s great wing of Balemoon Bloodfire beats as she absorbs and clears Blood-Debt Directives around her. She deals AoE Pyro DMG before clearing the CD of All Is Ash and healing herself. The healing is based on her Bond of Life value and ATK.
Agony Alone May Be Repaid – 1st Ascension Passive

Blood-Debt Directives have the following characteristics:
- Arlecchino will be granted a Bond of Life worth 130% of her Max HP when an opponent to which she herself applied a Directive is defeated.
- 5s after a Directive is applied, it will be upgraded to a Blood-Debt Due. When absorbed, it will instead grant Arlecchino a Bond of Life worth 130%.
A Bond of Life created in the aforementioned ways cannot exceed the original limit on the value of Bonds of Life obtained through All Is Ash.
Strength Alone Can Defend – 4th Ascension Passive

Arlecchino gains 1% All Elemental and Physical RES for every 100 ATK she has in excess of 1,000. The maximum RES increase she can gain this way for each is 20%.
The Balemoon Alone May Know – Utility Passive

While in combat, Arlecchino gains a 40% Pyro DMG Bonus and can only be healed through Balemoon Rising.
Constellations
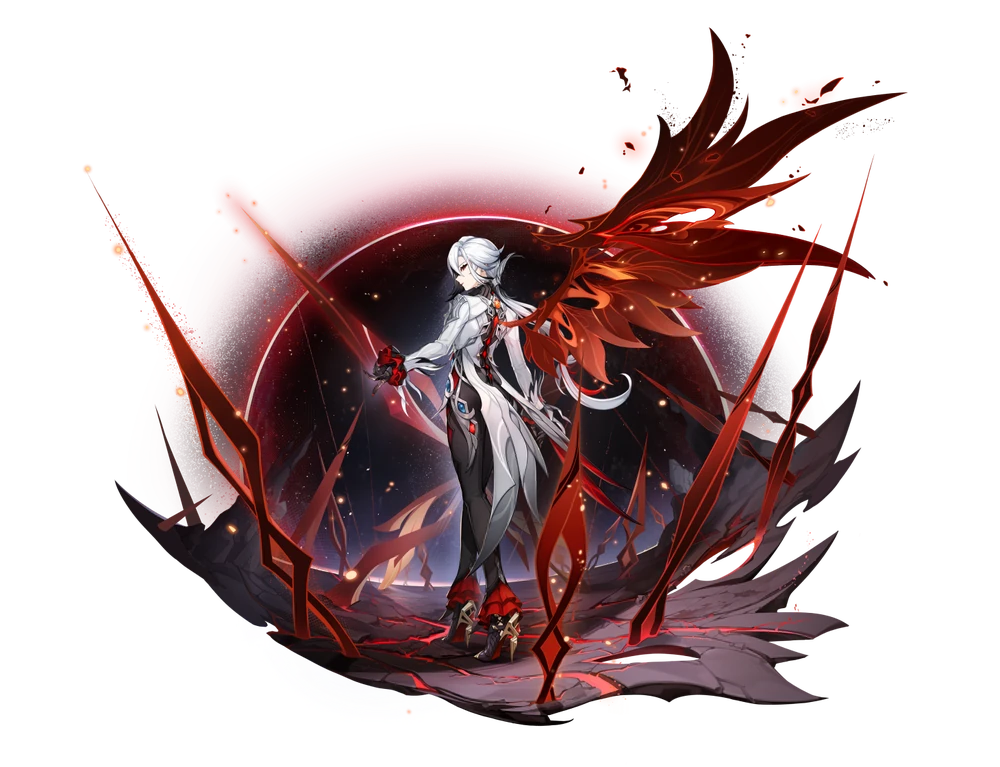
C1 – “All Reprisals and Arrears, Mine to Bear…”

Masque of the Red Death is further enhanced, the value of the increase is 100%. Additionally, Arlecchino’s interruption resistance is increased when she performs Normal or Charged Attacks while affected by the Masque of the Red Death.
C2 – “All Rewards and Retribution, Mine to Bestow…”

Blood-Debt Directives are now already Blood-Debt Due when first applied.
When Arlecchino absorbs such a Due, she unleashes Balemoon Bloodfire in front of her, dealing 900% of her ATK as AoE Pyro DMG and increasing her All Elemental RES and Physical RES by 20% for 15s. This effect can trigger once every 10s.
You must first unlock the Passive Talent “Agony Alone May Be Repaid.”
C3 – “You Shall Become a New Member of Our Family…”

Increases the Level of Normal Attack: Invitation to a Beheading by 3.
Maximum upgrade level is 15.
C4 – “You Shall Love and Protect Each Other Henceforth…”

When Arlecchino successfully absorbs a Blood-Debt Directive, Balemoon Rising’s CD will decrease by 2s and 15 Elemental Energy will be restored to her. This effect can occur once every 10s.
C5 – “For Alone, We Are as Good as Dead…”

Increases the Level of Balemoon Rising by 3.
Maximum upgrade level is 15.
C6 – “From This Day On, We Shall Delight in New Life Together.”

The DMG of Balemoon Rising is increased by Arlecchino’s ATK multiplied by 700% of Arlecchino’s current Bond of Life percentage.
For 20s after Arlecchino uses All Is Ash, both her Normal Attacks and Elemental Burst gain 10% increased CRIT Rate and 70% increased CRIT DMG. This effect can be triggered up to once every 15s.
Constellations Value Comparison
Arlecchino can be considered to be a perfectly fine package at C0, but does have some great Constellation options. C6 is powerful but can be too steep an investment for some. If you don’t intend to go all the way, anything from C0-3 can be a good stopping point, as C4 and C5 are not very useful unless you also have C6.
The value of vertical investment can be very subjective, but an argument can be made that her C1 could be considered the best value.
C1 > C6 > C3 > C2
C1: A significant damage increase and full interruption resistance while attacking. The quality of life from not having to worry about being interrupted and having more ease of play can be a big deal.
C6: Also another significant damage increase to both her Normals and Burst. Her Burst becomes worth using for damage or for when suddenly spikes of damage may be desired such as for quick wave clears.
C3: Simply more levels for her Normal Talent levels but damage is damage.
C2: Increases flexibility for her Skill usage timings by removing the need to have to set it up in advance. This allows her to use her Burst more freely as it is less likely to affect rotations. Adds a bit of AoE damage too whenever she absorbs Dues.
Weapons
BIS: Crimson Moon’s Semblance
Alternate: Primordial Jade-Winged Spear (General) / Staff of the Scarlet Sands (Vaporize)


BattlePass: Deathmatch (General) / Ballad of the Fjords (Vaporize)


F2P: White Tassel

Artifacts
Artifact Stats
- Sands: ATK / EM (Vaporize)
- Goblet: Pyro DMG Bonus
- Circlet: CRIT Rate / DMG
Energy Recharge Requirements
ER is optional because Arlecchino’s Burst is generally not optimal for damage and instead will be reserved for healing.
- General Play: 0%
- Solo/Double Pyro: 140-150%+
- Triple Pyro: 120%+
For those interested in a more accurate estimate for their specific teams: Energy Recharge Calculator
Artifact Sets
1st: Fragment of Harmonic Whimsy (4pc)

- 2-Piece Bonus: ATK +18%
- 4-Piece Bonus: When the value of a Bond of Life increases or decreases, this character deals 18% increased DMG for 6s. Max 3 stacks.
2nd: Gladiator’s Finale (4pc)

- 2-Piece Bonus: ATK +18%
- 4-Piece Bonus: If the wielder of this artifact set uses a Sword, Claymore or Polearm, increases their Normal Attack DMG by 35%.
3rd: Mixed Sets
(Any mix and match with 2pc ATK/Pyro/EM)

Talents Leveling Priority
Normal >> Skill > Burst
Her kit is straightforward, it is basically all damage focused and her Normals are her greatest source of damage. Her Skill and Burst contribute less damage and her Burst does not increase her healing.
Combos/Rotations
Her combos are very flexible with there being reasonable tradeoffs to using shorter or longer strings, it’s situational what is actually optimal. If you want to fit in more attacks, you may cancel the slower moves by doing N3D or N5D, but sometimes if the large AoE of N6 finishes the job it can be more efficient to do that. If you need to dodge, just dodge as needed, the damage loss is very minimal.
In generic situations her rotations will revolve around spending as much field time as required until it’s time that her teammates are available to be rotated to. A C0 rotation requires her to use her Skill in advance to give time for her Directives to upgrade into Dues but this is no longer required at C2.
C0: (EQ) E (N1 if the Team portion of the rotation is too short for her Skill to get upgraded) > Team > C > fill field time with combos > loop
C2: Team > (EQ) E C > fill field time with combos > loop
Legend:
- N = Normal Attack
- C = Charged Attack
- E = Elemental Skill
- Q = Elemental Burst
- D = dash (cancel)
- > = Switch Character
- ( ) = Optional/Situational
Arlecchino Teams
Vaporize
Hydro – Flex – Flex

- Double Hydro: Xingqiu (Off-Field Hydro) – Yelan (Off-Field Hydro) – Zhongli/Layla (Shielder)
- Overvape: Xingqiu (Off-Field Hydro) – Fischl (Off-Field Electro) – Bennett (Support)
- Notable Options:
- Hydros: Yelan, Xingqiu
- Offensive Supports: Bennett, Kazuha, Sucrose
- Off-Fielders: Fischl, Yae
- Shielders: Zhongli, Layla, Diona
Overloaded
Chevreuse (Pyro Overloaded Support) – Electro – Pyro/Electro Flex

- More Offensive: Chevreuse – Fischl – Bennett
- More Defensive: Chevreuse – Fischl – Thoma
- Notable Options:
- Offensive: Fischl, Beidou, Yae, Bennett, Xiangling
- Shielders: Thoma, Yanfei (C4), Xinyan, Dehya
Mono Pyro
Bennett (Support) – Anemo/Geo – Flex

- Anemo/VV: Bennett – Kazuha/Sucrose – Xiangling
- Double Geo: Bennett – Zhongli – Chiori /Yun Jin
- Notable Options:
- Anemo: Kazuha, Sucrose, Lynette
- Geo: Zhongli, Yun Jin, Chiori, Albedo
