How to Play a Blasphemous Blade Build in Elden Ring
Welcome to our Elden Ring Blasphemous Blade build guide. This will cover a build using the Blasphemous Blade, an excellent weapon found in the midgame of Elden Ring. It’s a very beginner-friendly weapon that has a ton of upsides.
By the end of our guide, you’ll know how to pilot the build from level 1 all the way through end game. Let’s dive in!
Explore our other Elden Ring build guides here.
Pros
- Regenerating Health on hit, making this weapon allows you to survive easily without burning Flasks.
- Good damage.
- Viable throughout the entire game.
- Excellent Ash of War.
Cons
- The weapon is locked behind a hard midgame boss.
- It is not the fastest-attacking weapon.
Attributes Leveling
For the leveling of this guide, we will start as the confessor and consider that you will be using the Lordsworn’s Greatsword as your weapon until you get the Blasphemous Blade.
| Starting Stats | Level 25 | Level 50 | Level 100 | Level 150 | |
| Vigor | 10 | 20 | 29 | 40 | 40 |
| Endurance | 10 | 11 | 11 | 30 | 30 |
| Strength | 12 | 14 | 22 | 30 | 50 |
| Dexterity | 12 | 14 | 15 | 15 | 15 |
| Mind | 13 | 13 | 13 | 13 | 16 |
| Intelligence | 9 | 9 | 9 | 9 | 9 |
| Faith | 14 | 14 | 21 | 33 | 60 |
| Arcane | 9 | 9 | 9 | 9 | 9 |
To wield the Blasphemous Blade, we need to reach specific stats, which will be reached at level 50. First, we get Strength and Dexterity up to 14, so you can wield the Lordsworn’s Greatsword with 2 hands, upgrade Strength after more to be able to 1 hand it if you prefer.
We also get our Vigor up so we can survive a bit more since this will be important for some bosses that will be pretty difficult in the mid-game. This is why we keep upgrading Vigor till level 100, aiming for 29/30 Vigor around level 50.
We also get the stats to wield the Blasphemous Blade at level 50. After this, we will increase our Vigor to 40, then put everything into Endurance until 30. Then, we can pump everything into Strength and Faith to complete the build!
Weapon And Path Through The Game
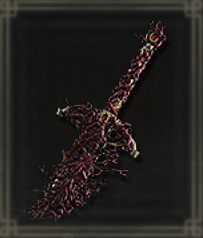
The Blasphemous Blade is a weapon dropped by Praetor Rykard. Rykard is found in the midgame inside Volcano Manor and has 2 ways of reaching him.
- Complete the Volcano Manor questline to teleport to his arena instantly. This is, however, slow since the questline doesn’t end till Mountaintops of the Giants.
- Complete the Volcano Manor Dungeon.
I will always recommend the second way unless you want to complete the quest.
We have a recommended way to play the game, and I will walk you through it until you get the Blasphemous Blade.
Path Through the Game

We are starting the game as Confessor and choosing the Golden Seed as our starting gift. The main reason for the starting class is it has the best stats for our Elden Ring Blasphemous Blade build.
Once we get past the tutorial and head off into Limgrave, we need to get both stronger and a decent weapon that we can use until we unlock the Blasphemous Blade.
We have 3 options to choose from:
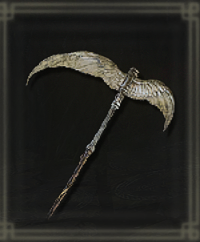
The Winged Scythe is a great alternative that can get us through the early game. It has good scaling but requires some stat investments in Dexterity.
- Location: Limgrave, Found in the Tombsward Ruins.

The Claymore, especially when infused with Heavy, is a good alternative, too. However, this does mean you mostly invest in Strength until Altus Plateau.
- Location: Castle Morne, Directly after the elevator in a room to the right.
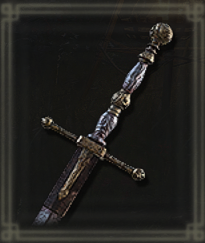
The LordSworn’s Greatsword is a weapon you find super early and has low stat investments while doing decent damage.
- Location: Found in a carriage next to the Grace, where you find Melina.
With these, we go to specific dungeons early. You can enter more for leveling, but these just have good stuff for us.
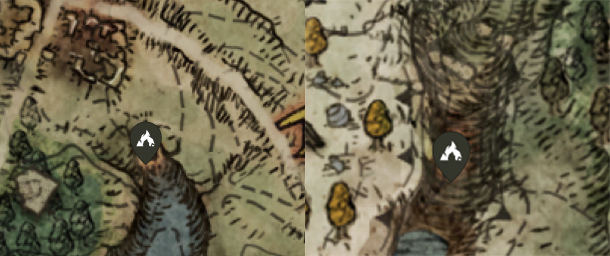
First, we enter the Limgrave Tunnels, mostly for the upgrade materials we need. We then head into the Morne Tunnel for the same reason.
After doing these, I recommend the Giant Dungeon of Castle Morne. After this, you should be around level 25-30, perfect for returning to Stormveil Castle and completing that dungeon.
While in Limgrave, I recommend doing the questline of Iron Fist Alexander found south of the Deathtouched Catacombs for his Talisman later in the game. Also, get the Fevor’s Cookbook for Sleep pots. This will trivialize a pretty hard boss later.
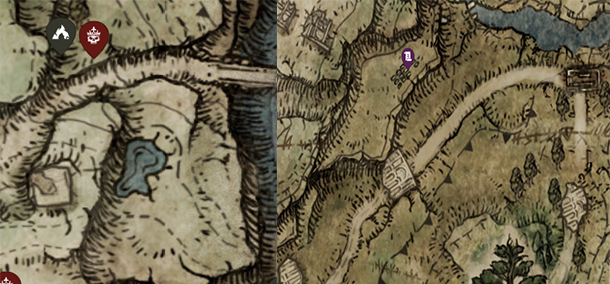
There are fewer requirements in Liurnia since there isn’t anything useful for our build. However, I would still recommend visiting the mines in Liurnia for the upgrade materials.
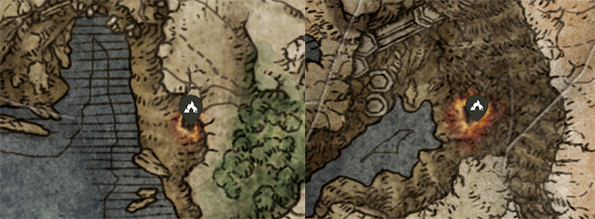
You should still go into dungeons and level up since I recommend visiting Raya Lucaria around levels 45-50 to make it much earlier.
Once you are done and are around level 50, we can go to the harder part of the run. One of the mines I mentioned earlier in Liurnia, the Ruin-Strewn Precipice, also leads to Altus Platue without using the Dectus Lift. This way, we don’t need to go to Caelid and can prioritize going to Volcano Manor.
In Altus Platue, we don’t need to do anything, really. Just head to Mount Gelmir and then to Volcano Manor. You will encounter the Fully Grown Fallingstar Beast. I do not recommend fighting it at this point, mainly since it’s optional. You can, however, attempt it.
At Volcano Manor, we need to craft some Sleep Pots, this will trivialize the first boss of the dungeon, Godskin Noble.
Once defeated, it’s only a victory rush toward Rykard. I do recommend having quite a bit of HP for this fight. Since the weapon has no scaling, having more Vigor is better to survive more damage.
After this fight, you can craft the Blasphemous Blade with his Remembrance. Then get the Talisman and materials for the build, and you should be set!
Armor
Some of the armor below gives buffs, while the rest are purely fashion and resistances that work great with the Elden Ring Blasphemous Blade build’s tank style.
Haligtree Knight Set
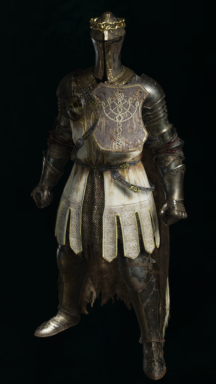
Buffs: Helmet gives 2 extra Faith.
- Location: Dropped from Haligtree Knights.
Ruler’s Mask
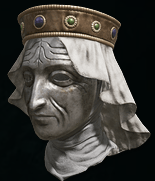
Buffs: Gives 1 extra Faith.
- Location: Altus Plateau, looted from a corpse near a carriage.
Imp Head Corpse

Buffs: Gives 2 extra Faith.
- Location: Leyndell, looted from a corpse on the rooftops.
Banished Knight Set
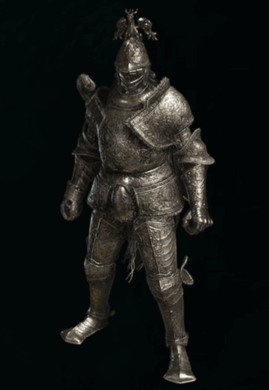
- Location: Chance to be dropped by Banished Knights.
Blaidd’s Set
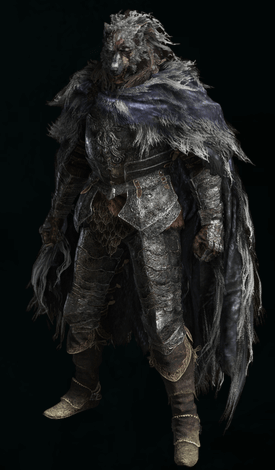
- Location: Found after defeating Blaidd after completing Ranni’s quest and returning to Renna’s Rise.
Crucible Axe Set
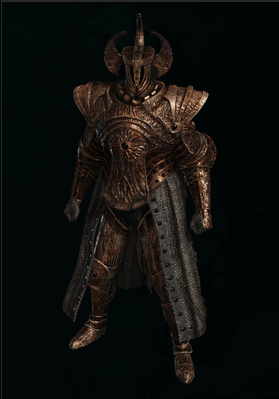
- Location: Dropped from Crucible Knight Ordovis, found within the Auriza Hero’s Grave.
Best Talismans
The Talismans are all personal preferences, but the ones I would use are listed below. Remember that you should only run on Heirloom; running more takes a toll on your defense and offense on other parts.
Erdtree’s Favor
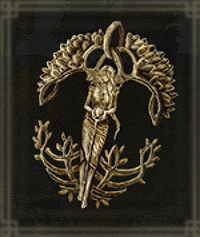
Buffs: Increases HP, Stamina, and equip load.
Location base: Found guarded by Grafted Scions in Fingefolk Hero’s Grave.
- Location +1: Found in a chest in the Subterranean Shunning Grounds after killing Mogh.
- Location +2: Found in Leyndell Ashen Captial guarded by lesser Ulcerated Tree Spirits
Shard of Alexander
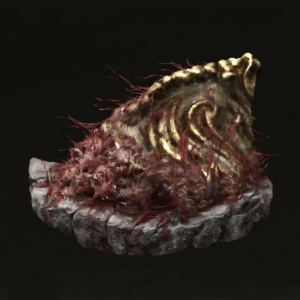
Buffs: Increases weapon skill damage by 15%.
- Location: Drops upon completing Iron Fist Alexander’s questline.
Two Fingers Heirloom
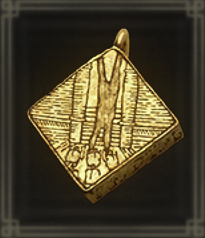
Buffs: Raises Faith by 5.
- Location: Liurnia, Looted from the Purified Ruins.
Starscourge Heirloom
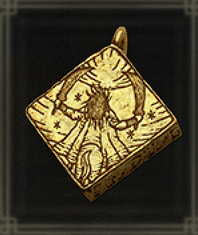
Buffs: Gives 5 extra Strength.
- Location: Looted from a corpse in Fort Gael.
Dragoncrest Greatshield Talisman
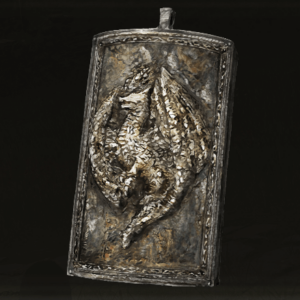
Buffs: Increases Physical Resistance by 20%.
- Location: Elphael, Brace of the Haligtree, found in a chest after the Drainage Channel Grace.
Fire Scorpion Charm
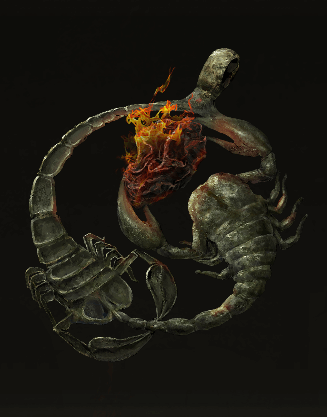
Buffs: Increases Fire damage by 12% while also increasing damage taken by 10%.
- Location: Mount Gelmir, found on top of Fort Laiedd.
Flask Distribution
Again, personal preference, you can go with 14 Healing Flasks, but I would recommend going with 12 Healing Flasks and 2 FP Flasks.
Best Summons
Ancient Dragon Knight Kristoff
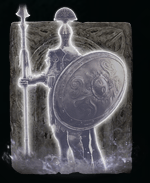
Kristoff is a defensive powerhouse who can tank the boss for long while dishing out some decent damage. He falls in the same category as Lhutel, as listed below. Both have good upsides, so it’s up to you.
- Location: Dropped by Ancient Hero of Zamor inside the Sainted Hero’s Grave west of Leyndell.
Black Knife Tiche
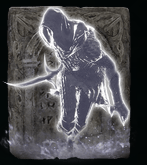
He is unique in that he has the Deathflame weapon art. This max HP scaling burn also lowers the enemy’s HP. Next, he is very aggressive with a decent amount of HP. He is considered the best summon in the game.
- Location: Dropped from Alecto, Black Knife Ringleader, upon defeating him inside the Ringleader Evergaol. This can only be accessed upon completing Ranni’s quest south of Liurnia.
Lhutel the Headless
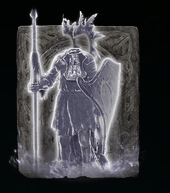
Lhutel is unique because she can teleport around, allowing her to avoid large groups of enemies and easily dodge attacks. She is also a powerhouse in tanking due to her heavy armor and great shield. Overall, she is a solid defensive option.
- Location: Dropped by the Cemetery Shade at the Tombsward Catacombs.
Banished Knight Oleg
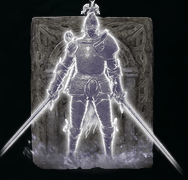
Oleg is an offensive powerhouse that both soaks agro from bosses and deals a massive amount of damage. Generally one of the best offensive summons.
- Location: Found on a corpse inside the Fringe folk Hero’s Grave.

