How to Play a Strength Faith Build in Elden Ring
In this Elden Ring Strength Faith build guide, we’ll cover everything you need to know to play it from level 1 to end game. This build takes advantage of the high burst damage from strength builds combined with the versatility that Incantations provide.
We will discuss the best leveling strategy to get through the game, the best Weapons and Seals, Armor, Talismans, Summons, and what Consumables you can use.
This build can take some time to set up as most of the Weapons and items that will be used are rewards for defeating some difficult bosses, but once the build is complete, you will be dishing out obscene amounts of damage.
Pros
- The weapons used in this build have incredibly high damage potential.
- This game has many Incantations, each with unique uses, giving this build a ton of versatility.
Cons
- Although the damage from this build is high, most of the skills used in this build are very slow and can be interrupted by quicker enemies.
- The weapons have fairly high base stat requirements, so you cannot invest many points into Vigor until level 50.
- The Equip Load for this build is on the higher end, so you will need a lot of stamina if you want to keep medium rolling.
Leveling and Stats
We will choose the Confessor as our starting class. This class will give us the most optimal stat distribution compared to the other starting classes and a decent early-game weapon.
| Stats | Starting Stats | Level 25 | Level 50 | Level 100 | Level 150 |
| Vigor | 10 | 15 | 30 | 40 | 50 |
| Strength | 12 | 20 | 22 | 30 | 50 |
| Faith | 14 | 16 | 21 | 40 | 60 |
| Dexterity | 12 | 12 | 15 | 15 | 15 |
| Endurance | 10 | 10 | 10 | 23 | 23 |
| Mind | 13 | 13 | 13 | 13 | 13 |
| Intelligence | 9 | 9 | 9 | 9 | 9 |
| Arcane | 9 | 9 | 9 | 9 | 9 |
The first major breakpoint when it comes to leveling is level 25, at which point you begin to be able to utilize the weapons in this build. The priority will be to get 20 points into Strength. All of the weapons used in this build have a fairly high Strength requirement and this amount will allow you to wield all of them. Afterward, you put a few points into Vigor to increase survivability and Faith to meet the requirements to wield the Grafted Dragon.
The second breakpoint of level 50 will have us investing heavily into Vigor because bosses start to hit a lot harder at this point in the game. Furthermore, at 22 Strength, 15 Dexterity, and 21 Faith, we have reached the requirements to wield the best weapon for this build- the Blasphemous Blade, which can be obtained after defeating Rykard.
The third breakpoint of level 100 is where you will see huge damage numbers. At 40 Faith, you will have access to all of the buffs that could be used for this build and most Incantations in the game.
At the last breakpoint, which is level 150 we put a stop to the build. 150 is the perfect level for people who want to PVP so if you want to do that, avoid crossing this level or it will influence matchmaking. We invest points into Vigor, Strength, and Faith almost equally as going past 60 in any of these stats will go past the soft caps, leading to diminishing returns.
Weapons
The game has many strong Strength and Faith scaling weapons, but we will be looking at 5 in particular for this build. Each of these has unique Ashes of War that can all deal insanely high damage in the right situations.
Blasphemous Blade
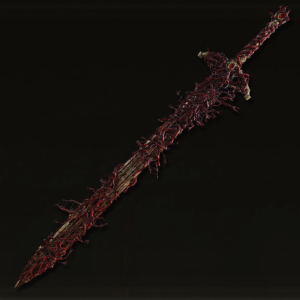
The Blasphemous Blade is a greatsword with an incredibly powerful ash of war that deals insane fire damage while healing you simultaneously. This weapon can be acquired by trading in Rykard’s Remembrance, which can be acquired after defeating Rykard in Volcano Manor.
- Requires: Strength 22, Dexterity 15 and Faith 21
- AoW Scaling: Faith
Ordovis’s Greatsword
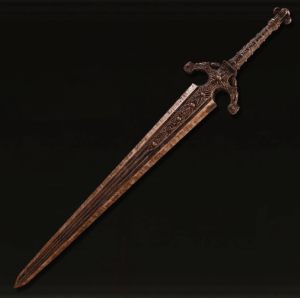
Ordovis’s Greatsword is a weapon with a unique Ash of War that deals great physical and holy damage accompanied by fairly good Poise damage. It can be acquired by defeating Crucible Knight Ordovis in Auriza Hero’s Grave just outside the Capital.
- Requires: Strength 25, Dexterity 13, and Faith 15
- AoW Scaling: Strength and Faith
Siluria’s Tree
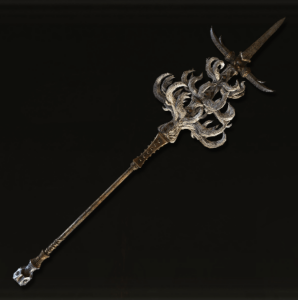
Siluria’s Tree is a great spear with a ranged Ash of War that scales with Strength and Faith and can deal very high damage. This weapon can be acquired by defeating Crucible Knight Siluria, who can be found guarding a large tree in the Deeproot Depths.
- Requires: Strength 27, Dexterity 13, and Faith 20
- AoW Scaling: Strength and Faith
Grafted Dragon
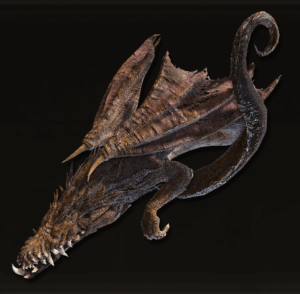
The Grafted Dragon is a fist weapon with an Ash of War that causes an eruption, which can deal massive fire damage. This weapon can be acquired by trading in Godrick’s Remembrance, which can be acquired after defeating Godrick in Stormveil Castle.
- Requires: Strength 20, Dexterity 14, and Faith 16
- AoW Scaling: Faith
Envoy’s Longhorn
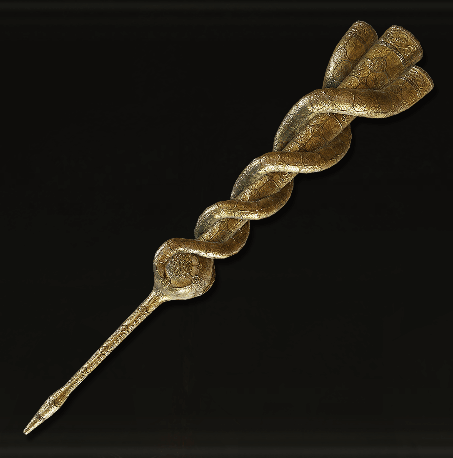
The Envoy’s Long Horn is a great hammer with a unique Ash of War that is very good at dealing with large enemies and bosses. This weapon can be acquired as a rare drop from the Large Oracle Envoy that can be found just past the East Capital Rampart site of Grace just as you enter the Capital.
- Requires: Strength 23, Dexterity 11, and Faith 18
- AoW Scaling: Faith
Clawmark
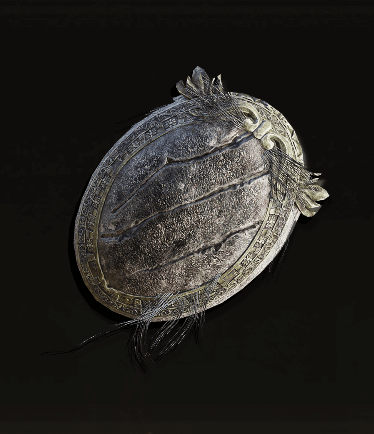
The Clawmark Seal is by far the best option for this build. What sets the Clawmark Seal apart from other seals in the game is that it has the highest strength scaling. This means we will get a lot of value for our Incantations from increasing our strength stat.
Incantations
While most Incantations will be accessible with this build, I recommend a few that go especially well with it.
Bestial Incantations
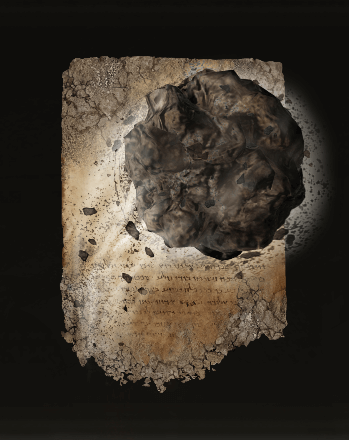
Bestial Incantations are received as rewards for giving death root to Gurranq, Beast Clergyman, who can be found in the Bestial Sanctum in Dragonbarrow. These Incantations receive a 10% damage boost while you are wielding the Clawmark Seal and can do solid damage from range. The strongest bestial Incantation is the Stone of Gurranq. This Incantation can deal great damage with a fairly quick cast time and only requires you to collect 6 Deathroot.
Catch Flame
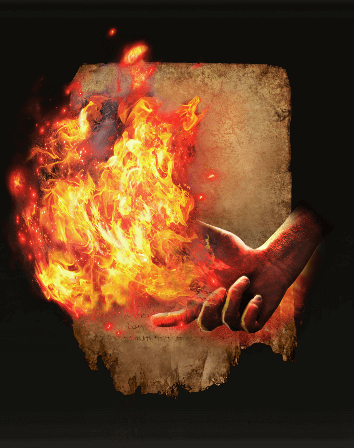
Although it may look underwhelming, Catch Flame is one of the strongest Incantations in the game. While it does have a small range, it has an insanely quick cast time with decently high damage that can melt opponents extremely quickly for almost no FP. Also, this spell deals fire damage, which will pair well with the buffs and Talismans used with the Blasphemous Blade.
Burn O Flame!
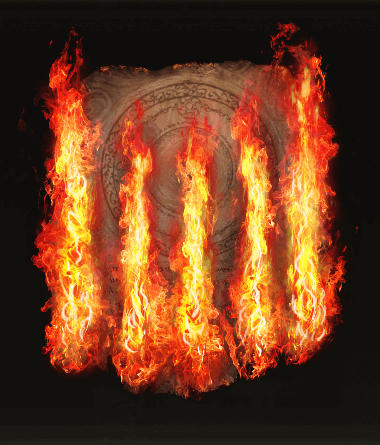
Raises a series of Flame Pillars around the caster. Charging further increases the number of Flame Pillars. This is extremely effective for taking down larger enemies as each Pillar deals insanely high fire damage and is more likely to connect multiple times on a larger hitbox. Similarly to Catch Flame, this will also pair well with the Blasphemous Blade.
Buffs
Golden Vow
The first and most important buff for this build will be the Golden Vow (Spell). This spell increases your damage by 15% and decreases the damage you take by 10%. Golden Vow is a solid buff used in many different builds. Because we will be investing so many points into Faith, we will easily be able to meet the 25 Faith required to use it.
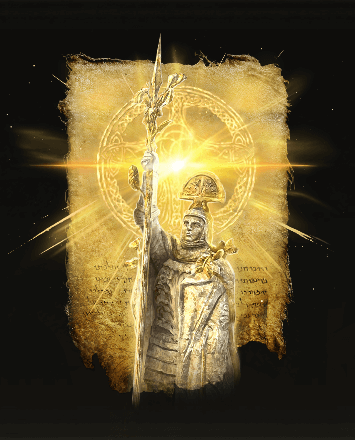
- This spell can be found in the Corpse-Stench Shack in Mt Gelmir.
Flame, Grant Me Strength
The second buff that can be used in this build is Flame, Grant Me Strength. This spell increases your physical and fire damage by 20% as well as giving you increased stamina recovery speed.
Flame, Grant Me Strength is a fairly strong buff that pairs well with most weapons in this build guide.
It can be acquired very early in the game and only requires 15 Faith, so you can almost use it as soon as you start the game.
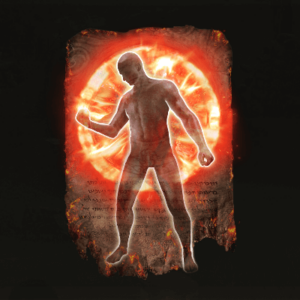
- This spell can be found behind Fort Gael, on a body between two Flame Chariots.
Howl of Shabriri
If you feel confident in your ability to dodge a boss, you can also use the Howl of Shabriri. This would replace Flame, Grant Me Strength, and boost all damage types by 25%, similar to Golden Vow, but it has a major drawback. It increases the damage you take by 30%, so only use this buff if you are confident you won’t get hit too much.
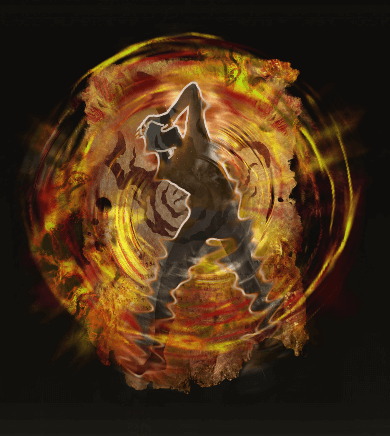
- This can be found in a chest on the second level of the Frenzy-Flaming Tower south of the Grand Lift of Dectus in Liurnia.
Flask of Wondrous Physick
If you use the Blasphemous Blade or any Incantations that deal fire damage, you will want to have the Flame-Shrouding Cracked Tear in your Physick. This will boost your fire damage by 20%. It can be acquired by defeating the Putrid Avatar found at the Minor Erdtree in Caelid.

If you are not using the Blasphemous Blade, you will want to use the Strength-Knot Crystal Tear instead. This increases your strength stat by 10 and can provide some extra damage to your build.
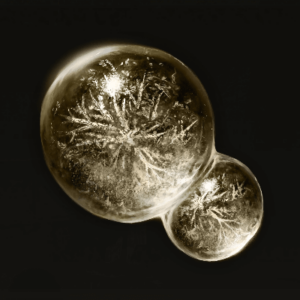
The final tear you should be using is the Faith-Knot Crystal Tear. This increases your Faith stat by 10. This can help you meet the higher weapons requirements in the early game while providing extra damage.
Buff routine and damage showcase:
Talismans
Shard of Alexander
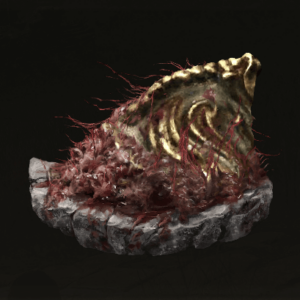
This is the most important Talisman for this build as it increases the damage dealt from your Ashes of War. It can be acquired by defeating Iron Fist Alexander after completing his quest line.
- Boosts the attack power of skills by 15%.
Ritual Sword Talisman
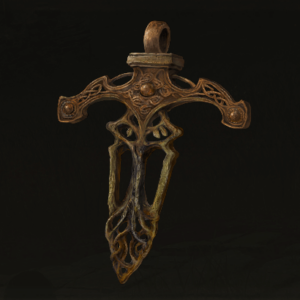
This Talisman increases the damage you deal when you are at full HP. It can be located in the Lux Ruins, in a chest after defeating Demi-Human Queen Gilika.
- Raises attack power by 10% when HP is at maximum.
Ritual Shield Talisman
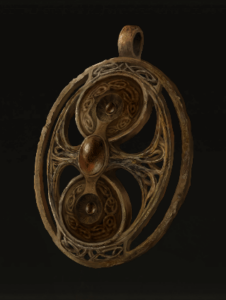
This Talisman decreases the damage you take when you are at full HP. It can be found in front of one of the doors at the Colosseum in Leyndell Royal Capital.
- Reduces damage taken by 30% when HP is at maximum.
Fire Scorpion Charm
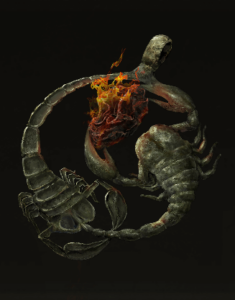
This Talisman increases the amount of fire damage you deal at the expense of taking more damage, and it is found up the ramparts on a wooden platform to the west in Fort Laiedd within Mt. Gelmir.
- Increases fire damage by 12% but increases physical damage taken by 10%.
Godfrey Icon
![]()
This Talisman increases the damage of charged spells and skills. It can be acquired by defeating Godefroy the Grafted, found in Golden Lineage Evergaol in Altus.
- Raises attack power of charged spells and skills by 15%.
Armor
As the skills used in this build are quite slow, quicker bosses can easily interrupt you while you try to use them. We will want to have at least 51 Poise to solve this issue, making it more difficult for enemy attacks to interrupt us while we use our skills. Any armor set will work if it reaches the 51-Poise threshold.
I recommend pairing the Confessor Hood, Blaidd’s Armor, Blaidd’s Gauntlets, and the Night’s Cavalry Greaves; this set looks stylish and gets you over the 51-Poise threshold.
Confessor Hood
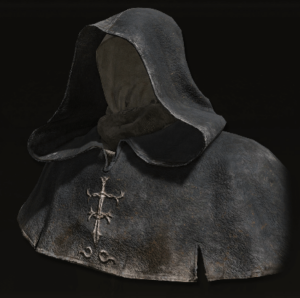
Black Hood for blending in with the darkness. Church Confessors wear it.
- Poise: 5
Blaidd’s Armor
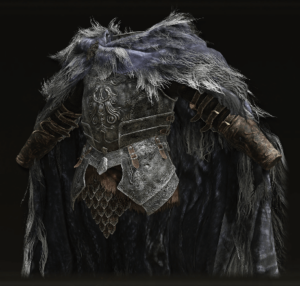
Well-worn Black Armor of the man-wolf Blaidd. The pelt serves as a cape, protecting from cold.
- Poise: 28
Blaidd’s Gauntlets
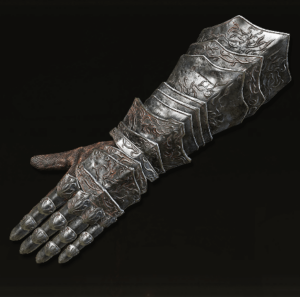
Well-worn Black Gauntlets of the man-wolf Blaidd.
- Poise: 6
Night’s Cavalry Greaves
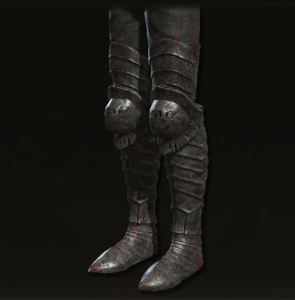
Pitch-black greaves are thinly painted with dried blood. They are worn by the Night’s Cavalry who ride Funeral Steeds.
- Poise: 15
Flask Distribution
If you use the Blasphemous Blade, you will want to have 1 more Cerulean Flask than Crimson Flasks, as your skill will heal you on every successful hit. Otherwise, at the maximum amount of Flasks, you will want to have 9 Crimson Flasks and 5 Cerulean Flasks.
Summons
Other than the obvious summons, such as Mimic Tear and Black Knife Tiche, I have some recommendations that can go well with this build.
Omen Killer Rollo
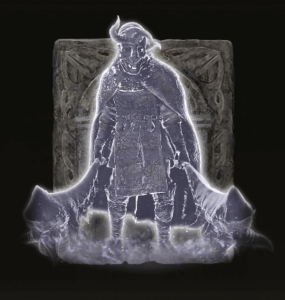
Omenkiller Rollo summons the spirit of Omenkiller Rollo. This summon is incredibly good at taking boss agro from you as it is very aggressive and deals very high damage. He also has a good amount of HP, so he can take agro for longer while you spam your weapon skills. Although he costs 113 FP, you can summon him using the Cerulean Hidden Tear for infinite FP.
- Can be acquired by defeating the Fell Twins at the Capital Outskirts.
Greatshield Soldier Ashes
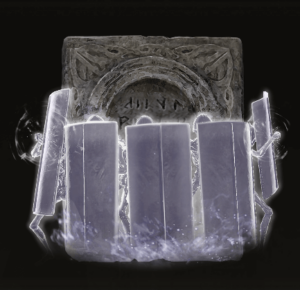
Greatshield Soldier Ashes summons five Greatshield Soldier Spirits. These soldiers have very high defense skills and can keep bosses agro very well, as they tend to swarm immobile bosses from all sides. They can even stunlock some smaller bosses with lower Poise. They serve as a good distraction for you to use your weapon skills and Incantations safely.
- Usually found on a corpse in a graveyard in Nokron, Eternal City.
In Conclusion
Thanks for reading our Elden Ring Strength Faith build guide! Head to our other Elden Ring build guides here.

